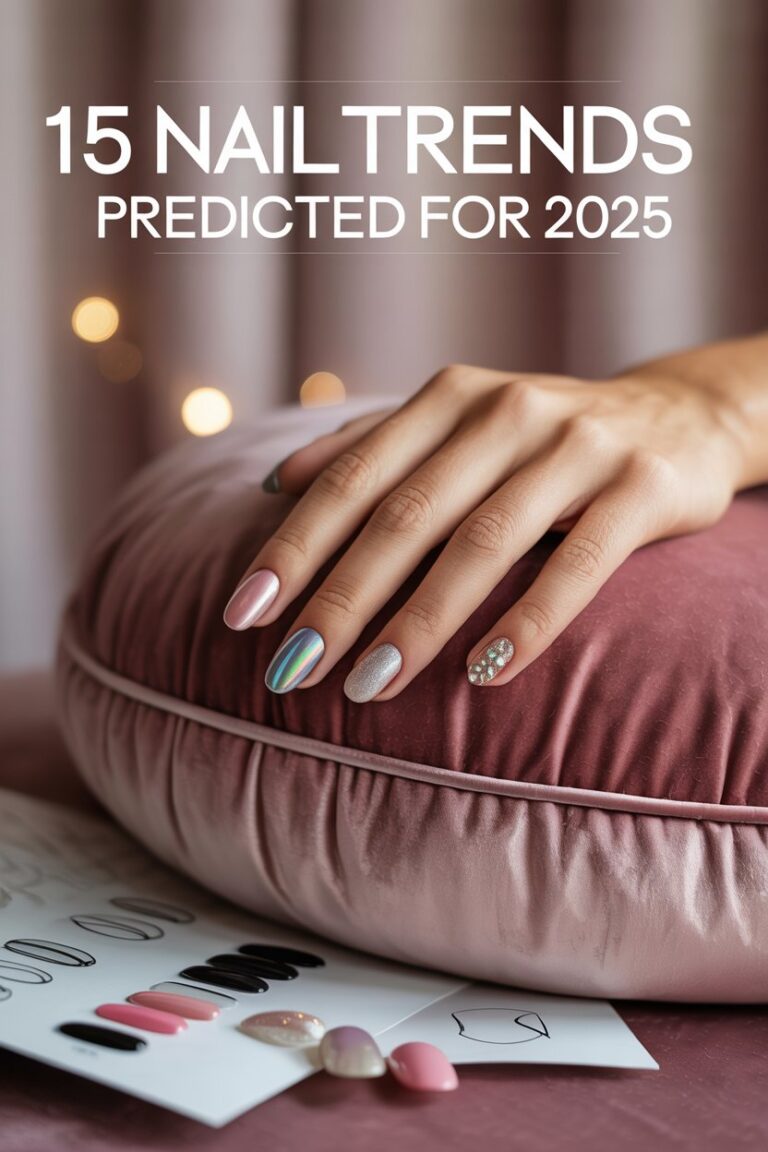
Gold Foil Nail Art for Glam Vibes: The Ultimate Guide to Luxe, Shiny Nails
If you’re craving a manicure that screams glamour, elegance, and sophistication, gold foil nail art is your golden ticket. With its radiant metallic shine and effortlessly chic aesthetic, gold foil has become one of the hottest trends in the nail world—and it’s not going away anytime soon.

Whether you’re planning your nails for a wedding, a holiday party, a girls’ night out, or just want to add a little sparkle to your everyday life, gold foil nails deliver a statement without going overboard. They’re classy, bold, and completely customizable, making them the perfect canvas for your creativity.

In this guide, we’ll dive deep into everything you need to know about gold foil nail art: why it’s trending, how to achieve it, top design ideas, and tips to make it last.
✨ Why Everyone’s Obsessed with Gold Foil Nail Art
Gold foil isn’t just about sparkle—it’s about texture, contrast, and elegance. Unlike glitter or chrome, gold foil pieces are uneven and organic, which gives your manicure a more natural, high-fashion edge. It’s the perfect fusion of raw artistry and luxury style.

Here’s why nail lovers and celebrities alike can’t get enough:
- It instantly elevates any nail design – Gold foil adds richness and depth to even the most basic color.
- It’s versatile – Whether you’re into neutrals, pastels, dark tones, or bold hues, gold foil pairs beautifully with everything.
- It suits all lengths and shapes – From short squares to long stiletto nails, gold foil looks amazing on every canvas.
- It’s wearable year-round – While perfect for festive occasions, gold foil also works for everyday glam or office chic.
💅 How to Achieve the Gold Foil Look (At Home or in the Salon)
Think gold foil nails are too advanced for DIY? Think again! With a little patience and the right tools, you can recreate this luxe look right at home.

What You’ll Need:
- A base color polish (nude, black, white, or pastel shades work beautifully)
- Gold foil sheets or flakes
- Tweezers or a silicone nail tool
- Top coat (regular or gel)
- Optional: foil adhesive or nail glue for better placement control
Step-by-Step:
- Prep your nails – Start with a clean, buffed nail surface and apply a base coat.
- Apply your base color – Go for a solid polish shade that complements gold (nudes, soft pinks, black, or even sheer jellies).
- Place the foil – While the polish is still tacky (or use foil glue if fully dried), gently place small pieces of gold foil using tweezers.
- Secure and seal – Once you’ve arranged your foil pieces, lock in the design with 1–2 coats of a high-shine top coat to keep everything in place.
Pro Tip: Want a longer-lasting result? Use gel polish and cure under a UV lamp between each layer.
🌟 Stunning Gold Foil Nail Design Ideas You’ll Love
1. Minimal Nude with Gold Accents
Perfect for clean-girl aesthetics, this look keeps things simple with a nude base and delicate flecks of gold foil on each nail. It’s understated, polished, and ideal for everyday elegance.

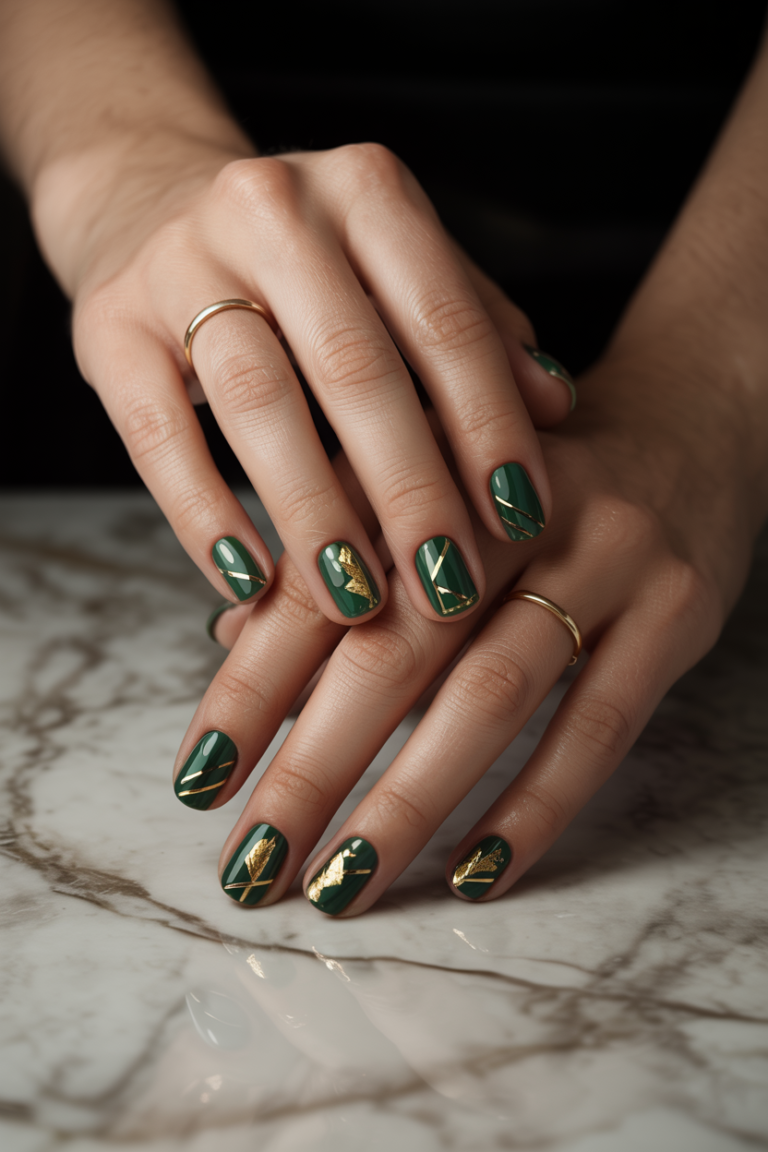
2. Marble + Gold Foil Combo
Combine the natural beauty of marble nail art with touches of gold foil for an ultra-luxe effect. Try it in white, gray, or dusty pink with scattered foil for a design that’s both earthy and glamorous.

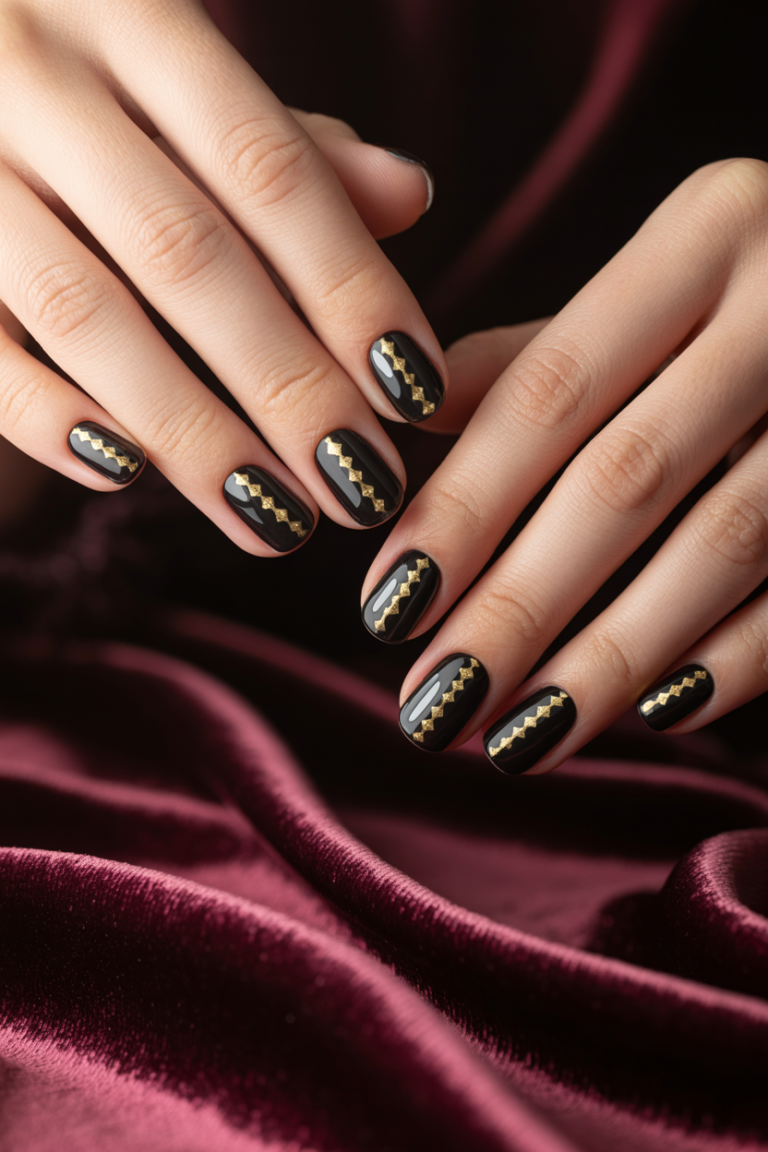
3. Black and Gold for High Drama
Nothing says drama like black polish paired with gold foil. This combo is perfect for night outs, winter events, or whenever you’re feeling bold and mysterious.
4. French Tips with a Foil Twist
Elevate your French mani by swapping the white tip with a gold foil one. Or add gold accents to the cuticle or sides for a contemporary, artistic take on a classic.

5. Jelly Nails with Floating Foil
Jelly nails are sheer and glassy—add some floating gold foil pieces for a light, airy, ethereal look that glows under sunlight. Perfect for summer!
6. Abstract Art Meets Metallic Shine
Create abstract nail art using brushstrokes, negative space, and soft gradients, then layer gold foil randomly to bring dimension and shine. This look is perfect for those who love modern, artsy vibes.
7. Foil-Covered Accent Nails
If you want to keep it subtle, use gold foil only on your ring fingers or middle nails. Accent nails allow you to try the trend without going all in—perfect for first-timers.
🔒 Tips to Make Gold Foil Nails Last
To make your golden manicure last as long as possible, follow these top tips:
- Use gel polish or long-lasting formulas to prevent early chipping.
- Always apply a strong, glossy top coat to seal in the foil and enhance shine.
- Avoid harsh chemicals and excessive hand washing without gloves.
- Don’t peel at the foil if it starts lifting—instead, patch it or gently remove and redo.
- Consider adding a second top coat a few days later to refresh the shine and keep the foil intact.
💡 Who Should Try Gold Foil Nails?
Everyone! The beauty of gold foil is that it suits all skin tones, nail shapes, and personal styles. Whether you’re a minimalist who loves clean aesthetics or a trendsetter who lives for bold nail art, gold foil can fit right into your vibe.

- Brides-to-be: Add golden shimmer to your wedding nails without going over the top.
- Office professionals: Pair subtle foil with nudes or beige for elegant, workplace-friendly glam.
- Festival-goers and party lovers: Go wild with colorful bases and chunky gold foil for an unforgettable statement.
- Seasonal stylists: Match gold foil with rich autumn tones or snowy winter whites for seasonal perfection.
✨ Final Thoughts
When it comes to elevating your manicure with a touch of luxury, few designs do it better than gold foil nail art. It’s artistic, glamorous, and completely on trend—giving your nails that wow factor without needing jewels or overly complex designs. Whether you keep it soft and subtle or go full-on glam, this golden touch is guaranteed to turn heads.

So go ahead—treat your nails to a little luxury. Your fingertips deserve to shine like 24K magic! 💅💛